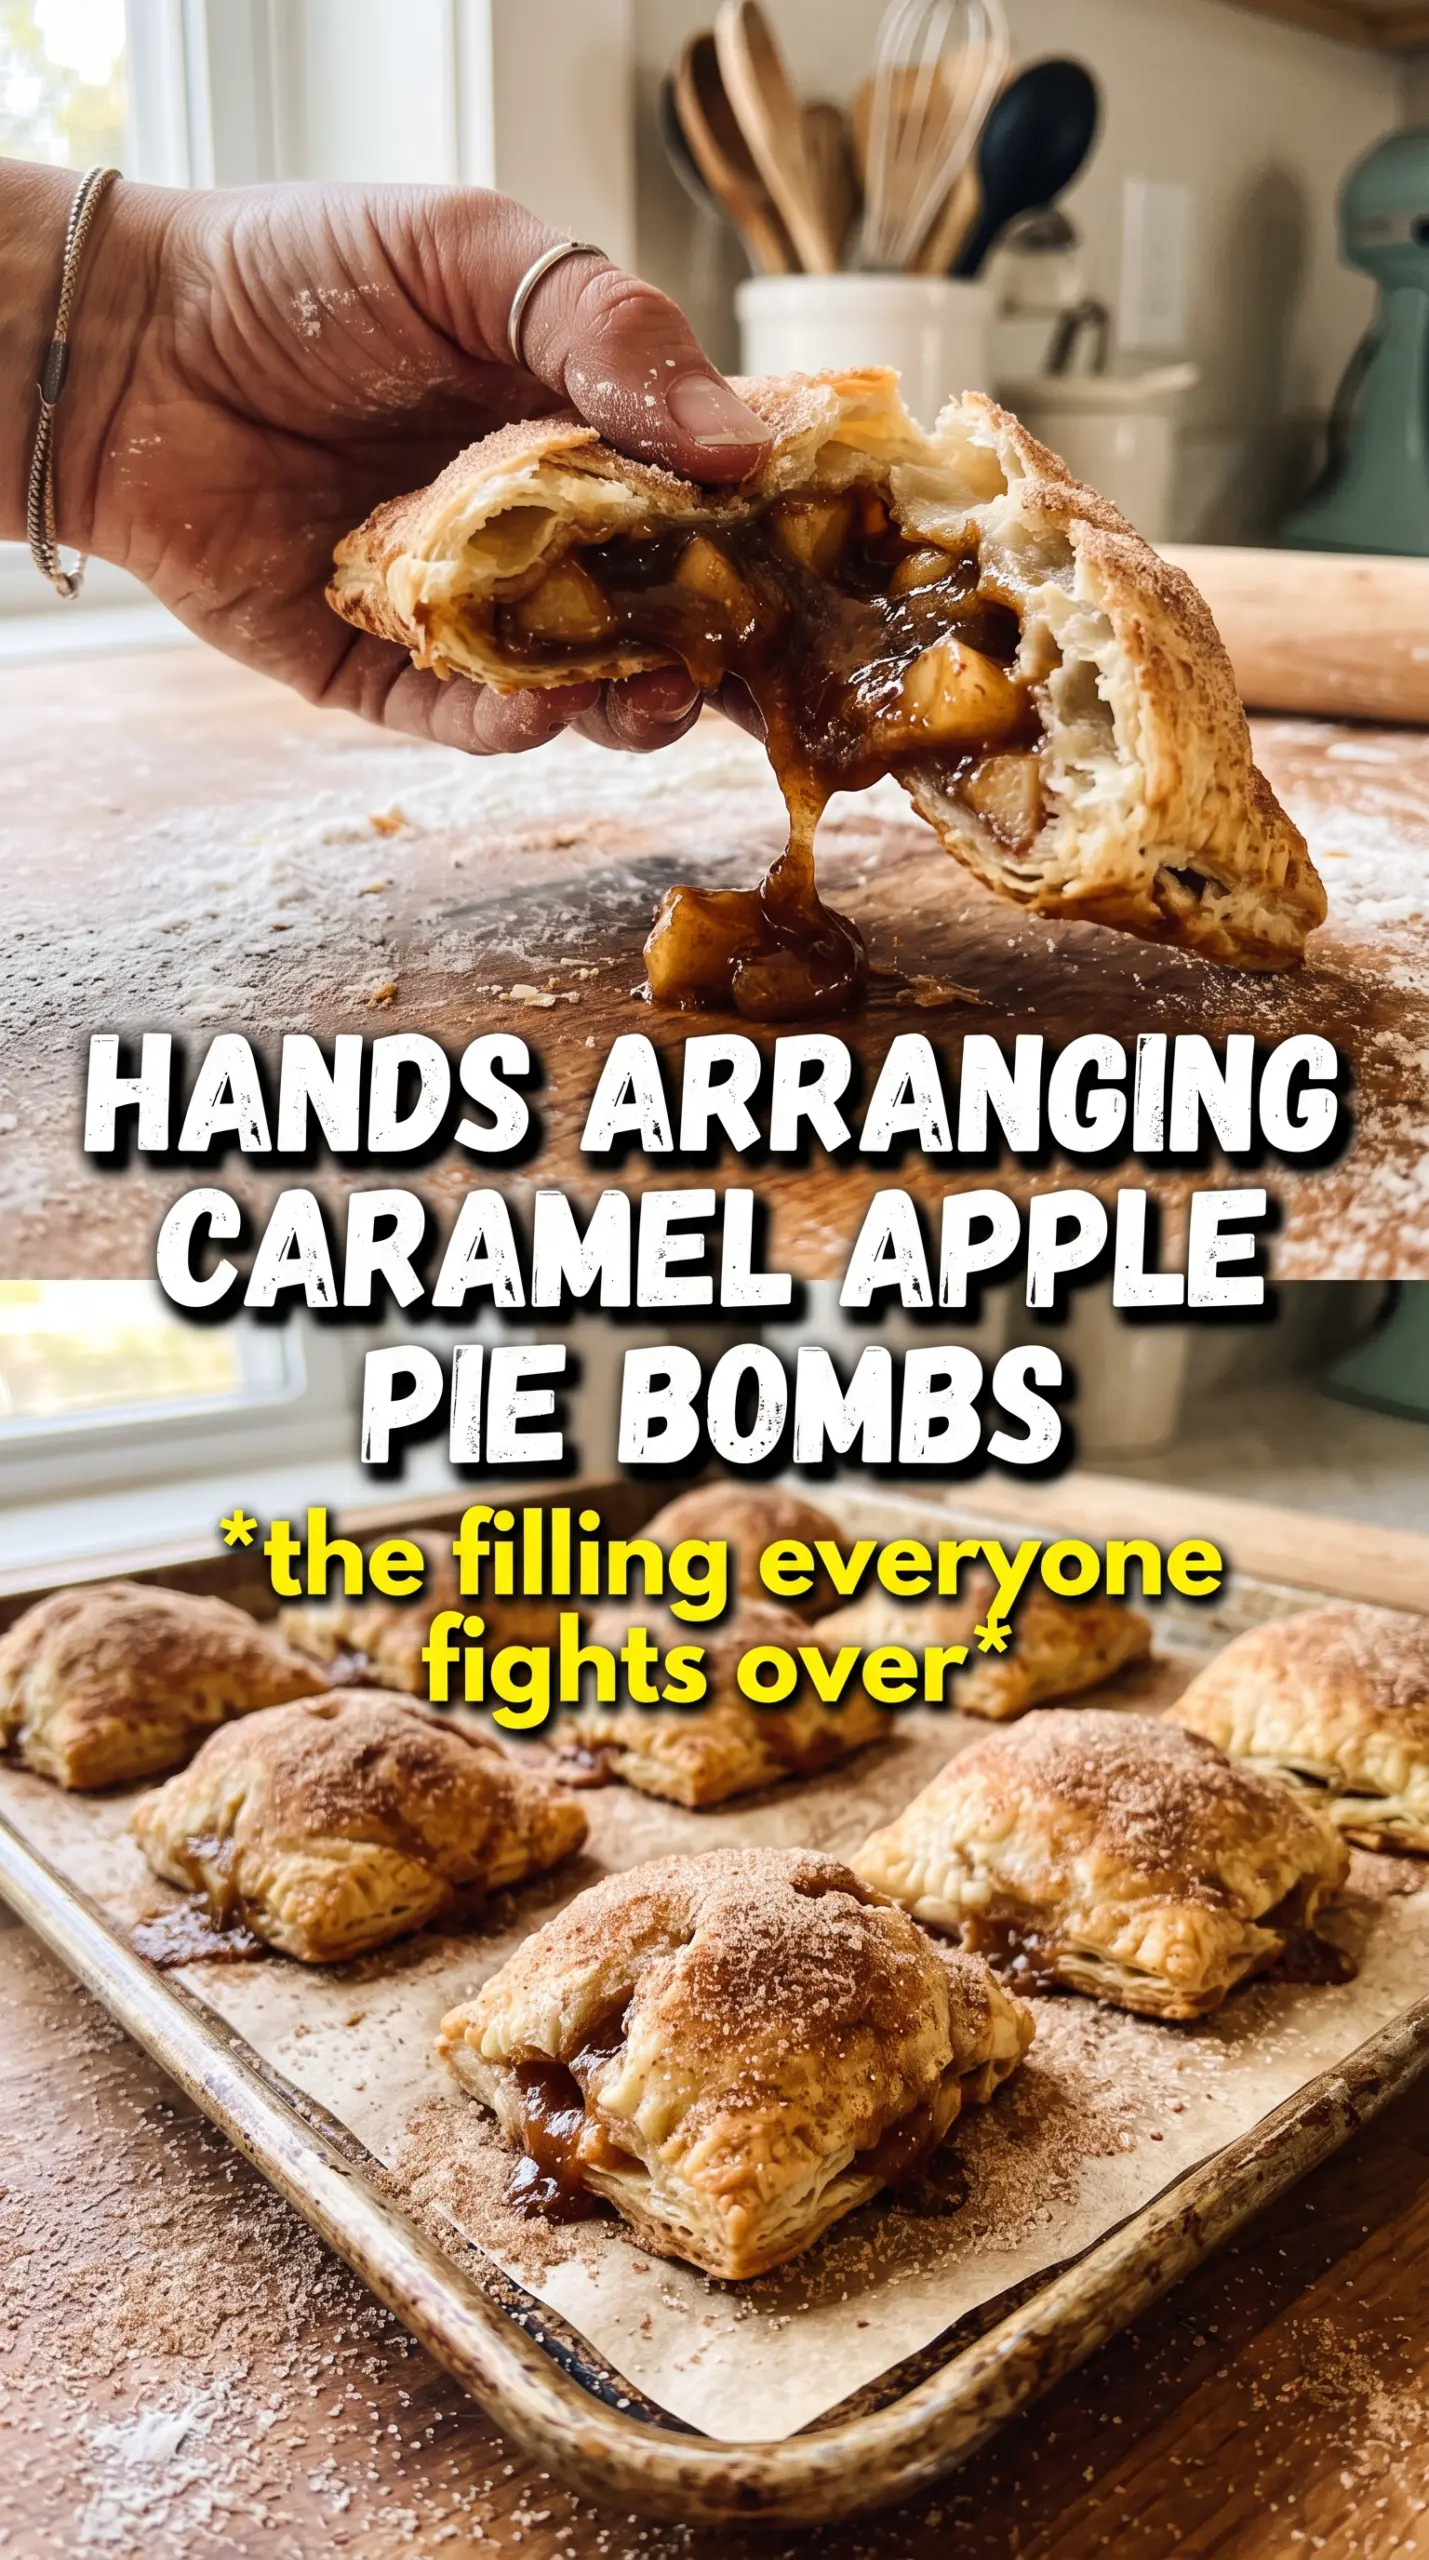
Caramel Apple Pie Bombs come out with a crisp, cinnamon-sugar shell and a soft, gooey center that tastes like the best part of apple pie without the extra fuss. When they bake well, the biscuit dough turns deeply golden and the filling stays tucked inside until the first bite breaks through to warm apples and melted caramel.
The trick is cooking the apple filling first until it’s thick enough to mound on a spoon. If it’s loose, it leaks. If the apples are still firm, they won’t soften enough in the oven. Cooling the filling completely before wrapping it in the dough matters just as much, because warm filling softens the biscuit dough and makes sealing harder.
Below, I’ll walk through the one detail that keeps these from bursting open, plus the ingredient swaps that still give you a strong caramel-apple center. Once you’ve made them once, the method clicks fast.
I was worried the caramel would leak out, but the filling thickened up perfectly and every bomb held together. The biscuit edges baked up crisp, and the center stayed gooey instead of runny.
Save these Caramel Apple Pie Bombs for a quick dessert with a sealed apple-caramel center and a cinnamon-sugar crust.
The Filling Has to Be Thick Before It Ever Meets the Dough
The biggest mistake with this kind of recipe is treating the apple filling like a loose pie mixture. It needs to be cooked down until the apples are tender and the juices cling to them instead of pooling in the pan. Cornstarch does the heavy lifting here, but only after the fruit has released enough moisture for it to work. If the filling looks glossy and spoonable, not soupy, it’s ready.
Cooling the filling completely matters because biscuit dough softens fast. Warm filling makes the dough slippery, and slippery dough won’t hold a tight seam. A good seal is what keeps the caramel tucked inside instead of bubbling out onto the baking sheet.
What Each Ingredient Is Actually Doing in This Dessert
- Apples — Choose a firm baking apple if you can. A mix of sweet and tart holds its shape better than a soft apple that turns mushy as soon as it heats up. Dice them small so the filling packs neatly inside each bomb.
- Brown sugar, cinnamon, and nutmeg — Brown sugar deepens the apple filling and helps it taste like pie instead of just sweet fruit. Cinnamon is the main spice, and nutmeg gives it that familiar bakery finish. Don’t skip the nutmeg if you want the filling to read as pie filling at first bite.
- Cornstarch — This is what turns the apple juices into a thick filling instead of a runny sauce. There isn’t a clean substitute here if you want the same neat, sealed center. If you use a different thickener, cook it until the filling is clearly thickened before it cools.
- Refrigerated biscuit dough — Biscuit dough bakes up fluffy and sturdy enough to hold the filling. Crescent dough can work in a pinch, but it bakes softer and tends to split more easily. Keep the dough cold until you’re ready to fill and seal it.
- Soft caramel candies — These melt into the center and give you that pull-apart caramel bite. Use individually wrapped soft caramels, not hard caramel chews or caramel bits, because you need something that softens fully in the oven.
- Cinnamon sugar coating — This gives the outside a crackly, spiced finish that makes the bombs taste like mini pie-doughnuts. Brush the dough with melted butter first so the sugar sticks in an even layer.
Assembling the Bombs So They Stay Sealed
Cooking Down the Apple Filling
Cook the diced apples with the butter, brown sugar, cinnamon, nutmeg, and cornstarch over medium heat until the pan looks mostly dry and the apples are coated in a thick glaze. Stir often so the cornstarch doesn’t clump at the bottom. You’re looking for tender apples with no loose liquid in the pan. If the filling still sloshes, keep cooking it a few minutes longer.
Shaping the Dough Without Tears
Flatten each biscuit into a 4-inch circle, keeping the center slightly thicker than the edges if possible. Put the filling in the middle, then top it with one caramel candy. Pull the dough up around the filling and pinch every seam firmly; any weak spot will open in the oven. Roll the sealed packet gently between your palms until it looks smooth and round.
Baking to a Deep Golden Finish
Brush each bomb with melted butter, then roll it in cinnamon sugar so the coating adheres before baking. Bake until the tops are deeply golden and the seams look set, not pale and doughy. If they’re underbaked, the bottoms stay gummy and the seam can split when you pick them up. Let them sit for a few minutes before drizzling so the filling settles instead of running everywhere.
Three Ways to Adjust These Without Losing the Gooey Center
Use puff pastry for a flakier shell
Puff pastry gives you a lighter, flakier bite, but it won’t puff as round and sturdy as biscuit dough. Cut it into squares, use less filling, and chill the assembled bombs before baking so the butter layers stay distinct. The result is more delicate and a little more bakery-style.
Make them dairy-free
Use plant-based butter and dairy-free caramel candies if you need a dairy-free version. The filling still thickens the same way, but the caramel flavor may be a little softer depending on the brand. Brush the tops with melted vegan butter so the cinnamon sugar still sticks well.
Swap the apples for pears
Firm pears work if you want a softer, more floral filling. They break down faster than apples, so pull the pan off the heat as soon as they’re tender and the mixture looks thick. The flavor is gentler, but the caramel still gives the center enough richness to stand out.
Storage and Reheating
- Refrigerator: Store in an airtight container for up to 4 days. The sugar coating softens a little as they sit, but the filling stays good.
- Freezer: Freeze baked bombs on a tray, then move them to a freezer bag for up to 2 months. Thaw in the refrigerator before reheating so the centers warm evenly.
- Reheating: Warm in a 300°F oven for 8 to 10 minutes. The microwave works in a pinch, but it softens the dough and makes the caramel filling burst out instead of staying tucked inside.
Answers to the Questions Worth Asking
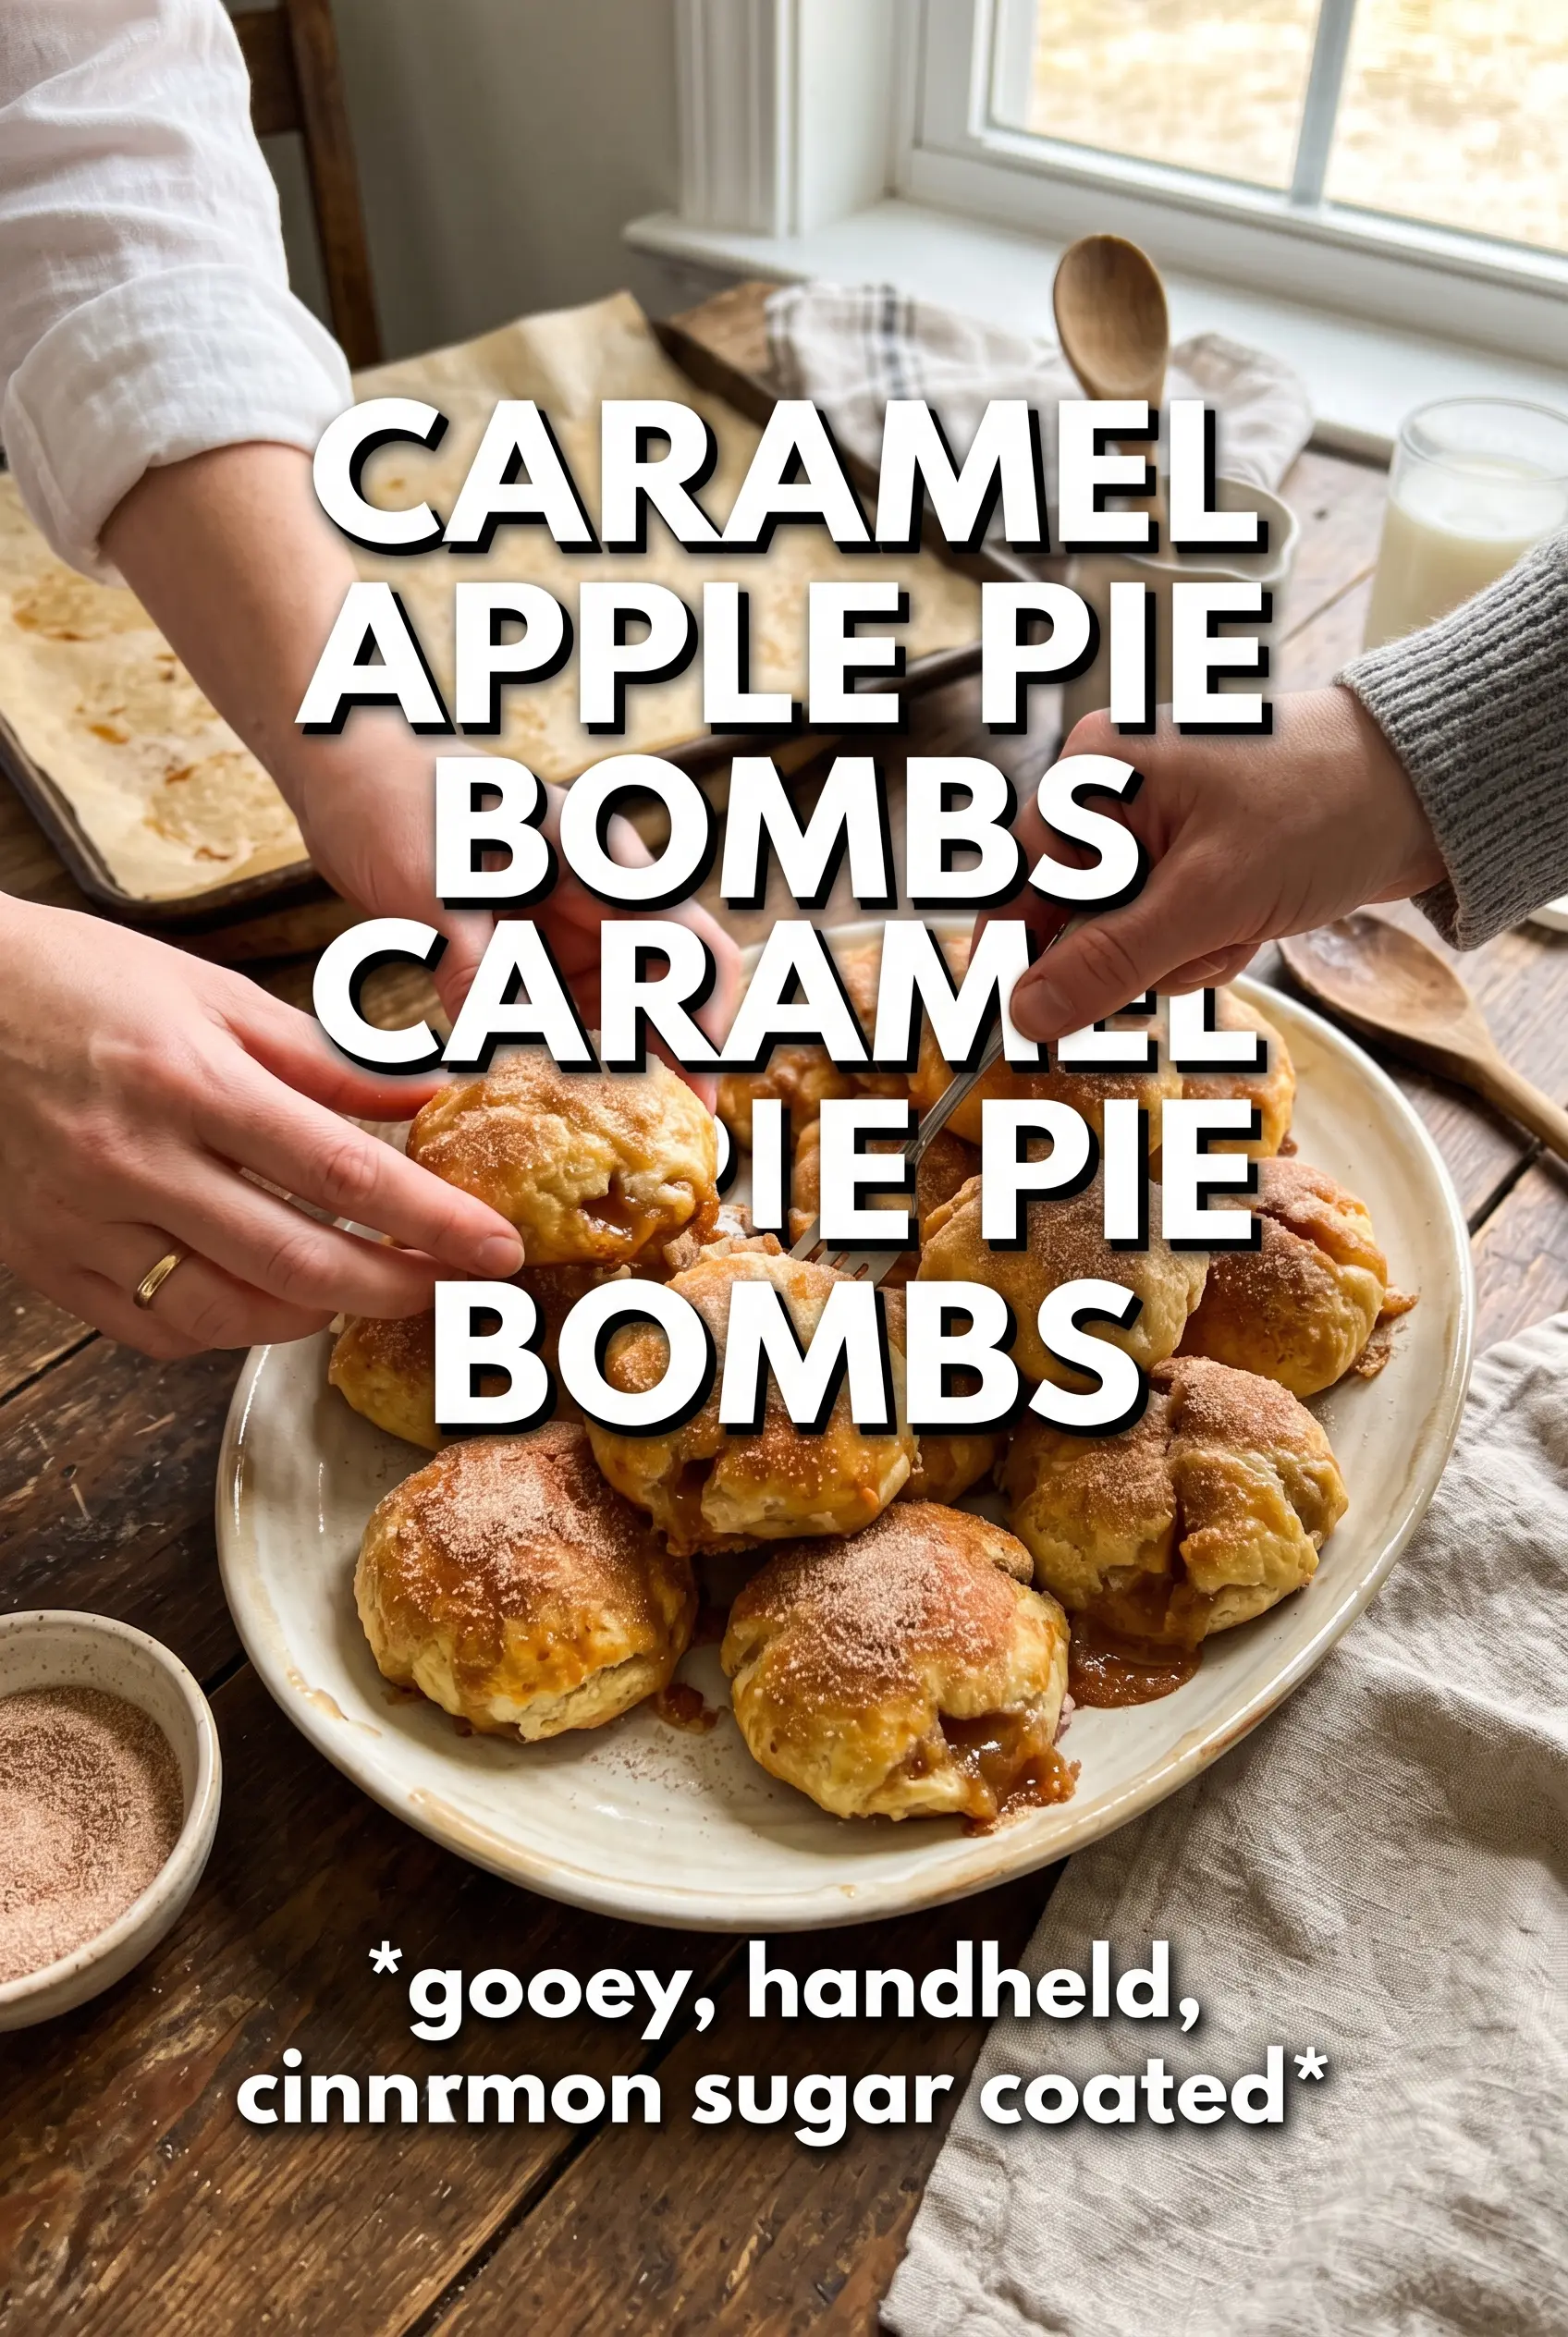
Caramel Apple Pie Bombs
Ingredients
Equipment
Method
- Cook the diced apples with butter, brown sugar, cinnamon, nutmeg, and cornstarch over medium heat for 5-7 minutes until thickened.
- Cool the apple filling completely before assembling the bombs.
- Preheat the oven to 375F and line a baking sheet with parchment.
- Separate the biscuits and flatten each into a 4-inch circle.
- Place 1 tablespoon apple filling and 1 caramel candy in the center of each circle.
- Wrap the dough around the filling and pinch firmly to seal, then roll into a smooth ball.
- Brush each bomb with melted butter, then roll in cinnamon sugar to coat.
- Bake for 18-20 minutes until deeply golden.
- Drizzle with caramel sauce and serve warm.