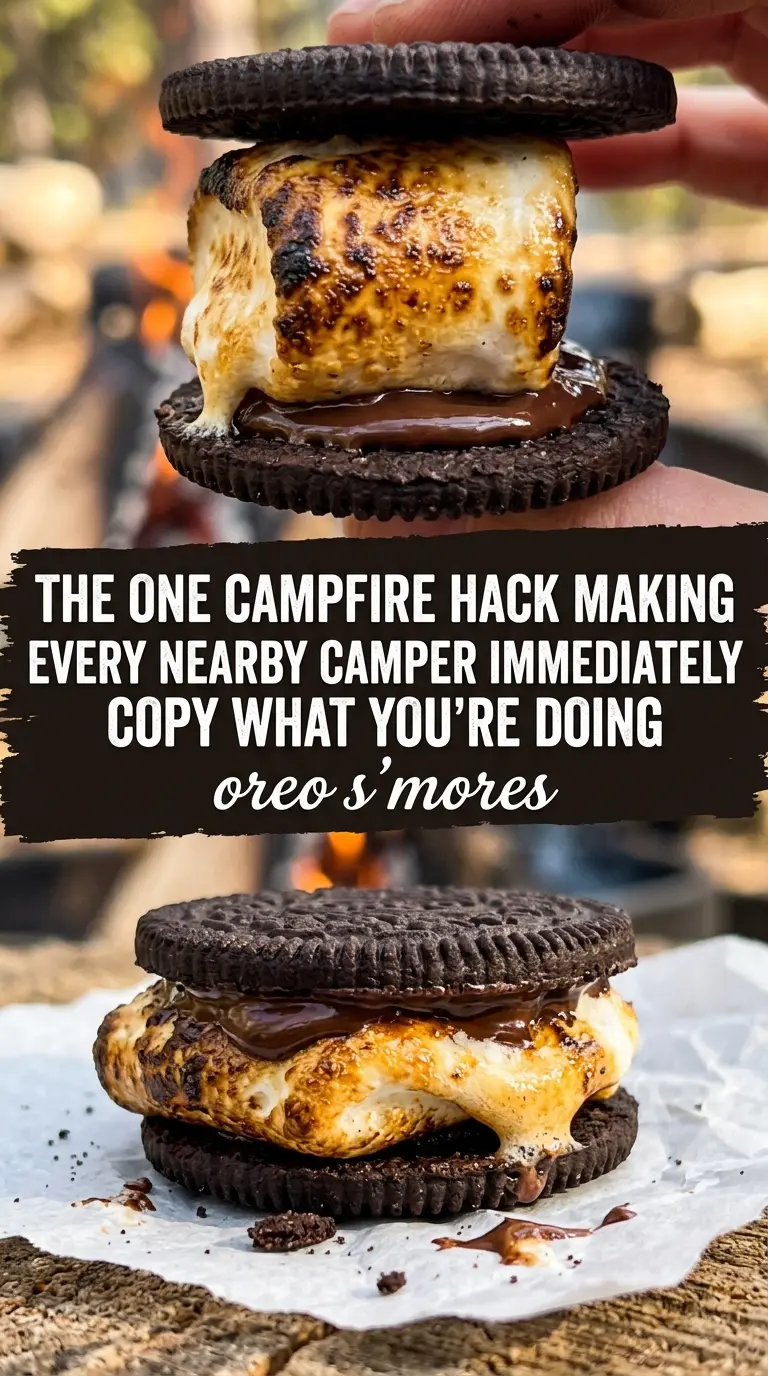
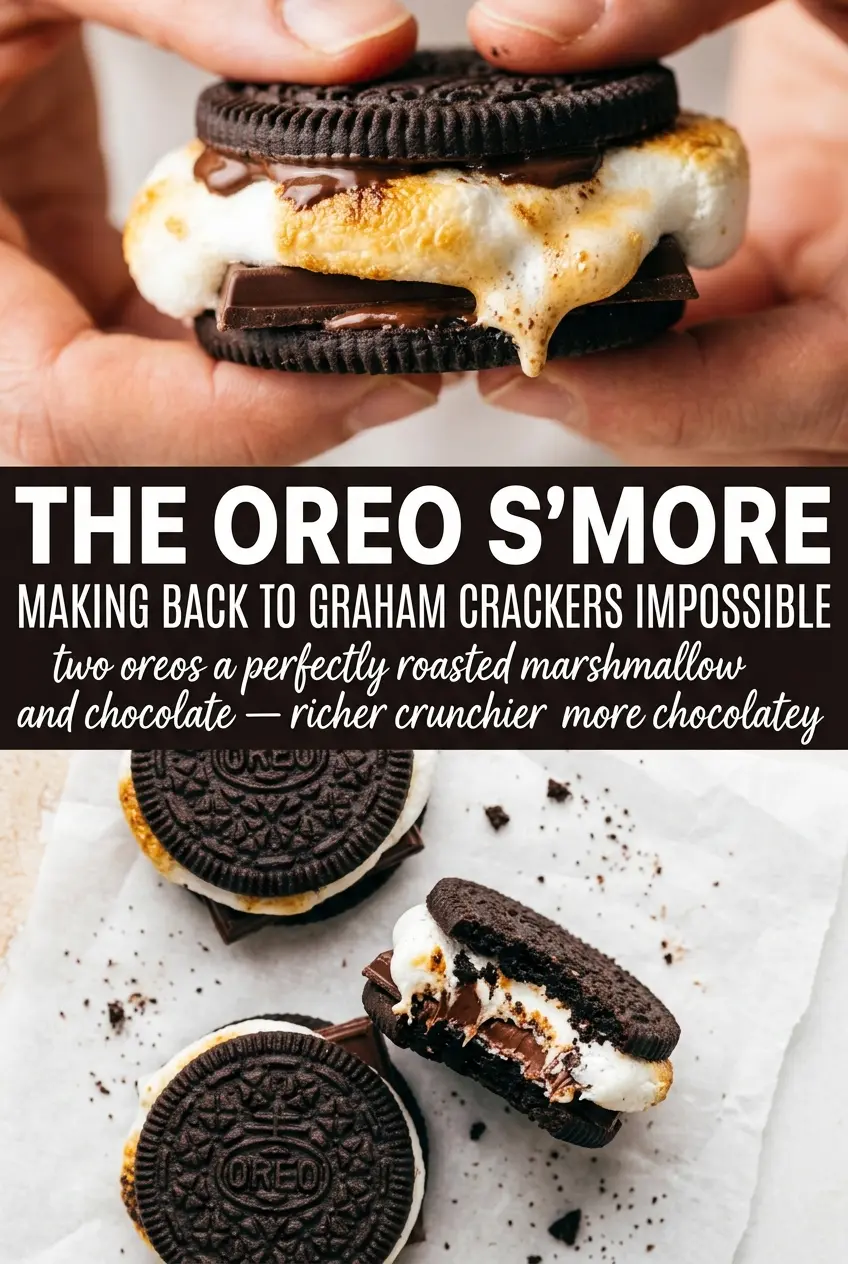
Oreo S’mores hit that perfect middle ground between nostalgic campfire treat and low-effort dessert: crisp chocolate cookies, a toasted marshmallow center, and just enough melt to make the whole thing messy in the best way. The Oreo doesn’t replace the graham cracker here; it changes the whole bite. You get a deeper cocoa note, a tighter crunch, and a sandwich that holds together just long enough to make it from the fire to your hand.
The key is treating the marshmallow like the main event, not an afterthought. Roast it until the outside is golden and blistered and the center has softened into a slow ooze. If you pull it too early, the sandwich feels stiff and the cookie won’t soften into that classic gooey bite. If you wait too long, the marshmallow drops off the stick or collapses into the coals before you can build the s’more.
Below, I’ve included the little details that matter most: how to keep the marshmallow from tearing when you sandwich it, why the cookie filling helps the layers stick, and a few easy variations if you want to change the texture or make a bigger batch.
The marshmallow got that deep toasted edge without burning, and the Oreo held up better than I expected. The filling softened just enough to make the sandwich stick together, and my kids asked for another round immediately.
Love the gooey marshmallow center and Oreo crunch? Save these Oreo S’mores for your next campfire night or quick no-bake dessert craving.
Why the Marshmallow Timing Matters More Than the Cookie
The Oreo is doing two jobs here: it brings the chocolate-and-cream base, and it gives you a sturdier sandwich than a graham cracker once the marshmallow starts to soften everything around it. That means the real failure point isn’t the cookie. It’s the roast. A marshmallow that’s pale and rubbery won’t spread into the filling, and one that’s blackened on the outside can still be cold in the middle.
Roast until the sugar shell is evenly caramelized and the marshmallow has a slight slump when you lift the stick. That’s the sweet spot. At that point, the cookie filling helps anchor the sandwich, and the residual heat finishes the melt without turning the whole thing into a slidey mess. If your fire runs hot, hold the marshmallow farther from the flame and take your time.
- Oreo cookies — Keep the cream filling on one side when you separate them. It acts like glue once the marshmallow hits it, and it also softens a little from the heat.
- Large marshmallows — Standard-size marshmallows work best because they roast evenly and give you enough volume for a proper sandwich. Mini marshmallows collapse too fast and don’t hold the shape.
- Roasting sticks — Use sturdy sticks or skewers that let you control the marshmallow close to the heat without hovering over the flame. A flimsy stick makes turning harder, which leads to one-side burning.
What Each Ingredient Is Actually Doing in Oreo S’mores
- Protein (quality, proper thickness) — Good quality protein tastes better. Even thickness ensures even cooking.
- Seasoning (bold, distributed throughout) — Don’t be shy with salt and pepper. Quality seasoning elevates everything.
- Oil or fat (protective and flavorful) — The fat helps develop crust and carries flavors. Use generously.
- Heat management (appropriate temperature for the protein) — Too high and the outside burns before the inside cooks. Too low and it steams.
- Technique (sear, then finish based on thickness) — Proper technique creates flavor. Sear for crust, then cook through gently.
- Aromatics and seasonings (garlic, herbs, spices) — These add complexity and depth. Distribute them throughout the cooking process.
- Resting time (let it rest before serving) — Resting allows juices to reabsorb. This keeps the protein moist and tender.
- Optional: finishing sauce or glaze — A light sauce adds richness without overwhelming. Apply at the very end.
Building the S’more Without Squashing the Center
Separate the Cookies First
Twist the Oreos apart and keep the cream on one half of each cookie. That layer helps the marshmallow grip the cookie instead of sliding out as soon as you pick it up. Don’t scrape the filling off; you want that little bit of softness between the cookie and the marshmallow.
Roast Until the Outside Blisters
Hold the marshmallow over the fire and turn it slowly so it browns evenly. The outside should go glossy, then start to blister and deepen to a golden brown. If the flame licks directly at one spot, move the stick up and back. Charred marshmallow can taste bitter and won’t give you the soft center you want.
Sandwich While It’s Still Hot
Set the roasted marshmallow on one cookie half and cap it with the other half right away. Press gently, just enough to spread the marshmallow toward the edges. If you press too hard, the marshmallow tears and squeezes out the sides before it can set into the cookie.
Give It a Minute to Set
Let the finished s’more cool for about a minute before biting in. That short rest keeps the marshmallow from burning your mouth and gives the cookie a little structure back. If you eat it the second it comes off the fire, the center can run and the sandwich can split in your hands.
Three Ways to Change the Texture Without Losing the Point
Use Double Stuf for a softer center
Double Stuf Oreos give you a little more cream, which makes the sandwich feel softer and richer once the marshmallow melts into it. The tradeoff is that they can slide a little faster, so build and eat these promptly.
Make it dairy-free with chocolate sandwich cookies that fit your diet
If you need a dairy-free version, use a chocolate sandwich cookie that doesn’t contain dairy in the filling and pair it with marshmallows labeled dairy-free, since some brands use animal-derived gelatin or other ingredients depending on the product. The result still tastes like a campfire s’more, just with a slightly different cookie snap.
Swap in flavored Oreos for a different finish
Mint, peanut butter, or birthday cake Oreos change the whole dessert without changing the method. Mint gives you a cool contrast against the toasted marshmallow, while peanut butter makes the sandwich taste richer and denser. Pick a flavor that can stand up to heat without getting lost.
Use the oven when there’s no fire
Broil the marshmallows for a few seconds in the oven until they puff and turn deeply golden, then build the sandwiches immediately. Watch them closely, because marshmallows go from toasted to burned fast under the broiler. This won’t taste exactly like campfire smoke, but it does get you the same gooey center.
Storage and Reheating
- Refrigerator: These are best eaten right away. If you have leftovers, store them in a covered container for up to 1 day, but expect the cookies to soften.
- Freezer: Freezing isn’t a good fit here. The marshmallow texture turns odd after thawing and the cookie loses its crispness.
- Reheating: Don’t try to reheat a finished s’more. If you want that fresh melt again, roast a new marshmallow and assemble a new sandwich.
Questions I Get Asked About This Recipe
Oreo S'mores
Ingredients
Equipment
Method
- Separate Oreo cookies, keeping the cream filling intact on one side of each cookie.
- Thread marshmallows onto roasting sticks.
- Roast marshmallows over campfire until golden brown and gooey, using a visible color change as your cue.
- Place roasted marshmallow on one Oreo cookie half and top with another cookie half to sandwich.
- Press gently to spread marshmallow so it oozes slightly at the edges.
- Let cool for 1 minute before eating to set the marshmallow just enough to hold the sandwich.