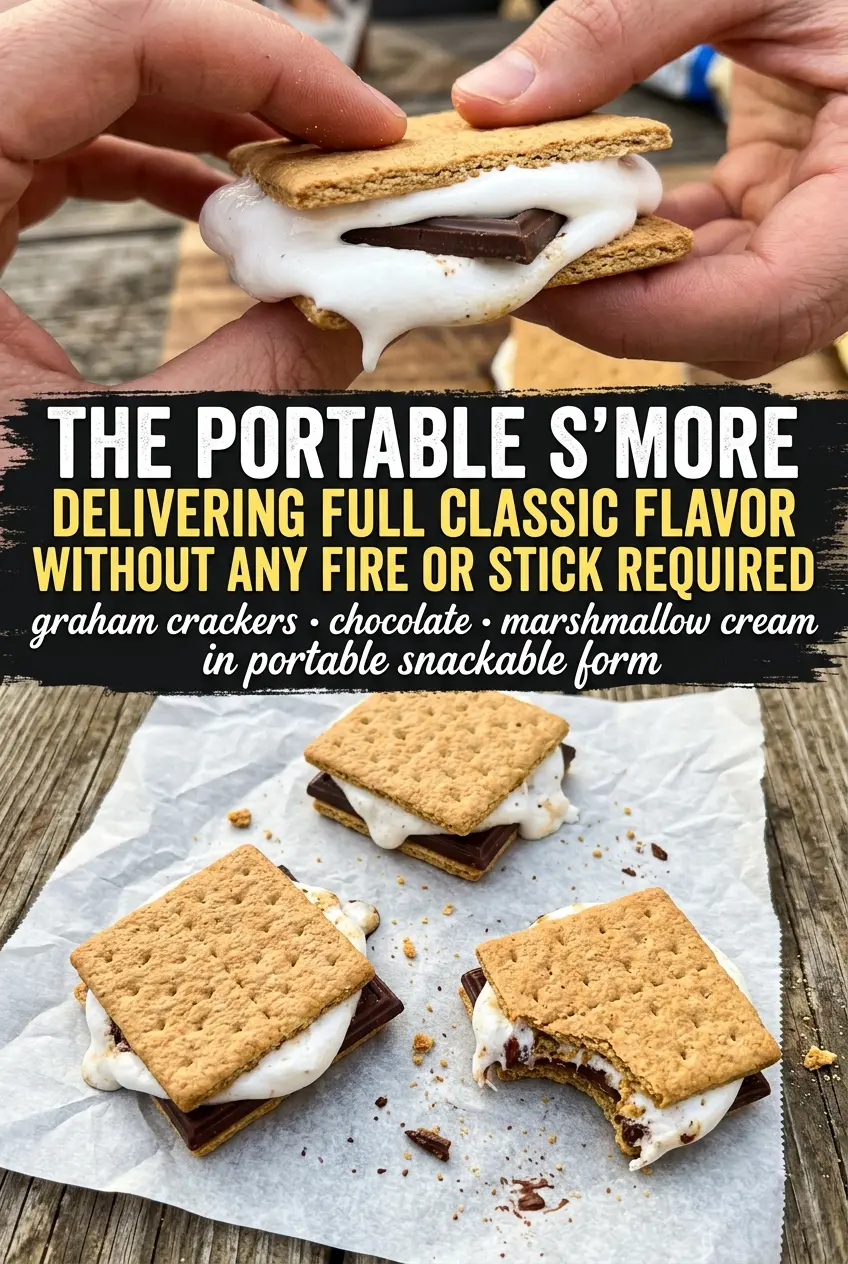
Walking s’mores hit that sweet spot between campfire treat and no-fuss dessert: crunchy graham cereal, warm melted chocolate, and soft marshmallows all in one handheld bag. The best part is that you don’t need skewers, plates, or a perfect fire. You just need enough heat to soften the chocolate and turn the marshmallows glossy and gooey.
What makes this version work is the snack-size cereal bag. It becomes the serving container, so the mix melts right where you’re going to eat it and cleanup stays almost nonexistent. The key is gentle heat, not direct flame. If the bag gets too close to the fire, the chocolate can scorch and the bag can warp before the marshmallows soften.
Below you’ll find the little details that matter: how close to keep the bags to the heat, how to loosen the top so steam doesn’t build up, and a few easy variations if you want to make these with different add-ins.
The cereal stayed crunchy on the bottom, but the chocolate and marshmallows melted into that perfect gooey layer on top. I kept mine near the coals for about 4 minutes and it turned out just right.
Walking s’mores are the easiest campfire dessert to pack and make when you want gooey chocolate-marshmallow cereal in a bag.
The Part Most People Get Wrong: Too Much Heat Too Fast
Walking s’mores seem almost impossible to mess up, but the common failure is pushing the bag too close to the fire. Chocolate chips need steady warmth to soften; marshmallows need a little time to relax and melt into the cereal. Direct flames will scorch the bag, make the chocolate grabby, and leave you with hot spots instead of an even, gooey mix.
The other thing that matters is how loose you leave the top of the bag. You want it sealed enough to hold in warmth, but not crumpled tight. A little space lets steam move around inside, which helps the marshmallows melt without turning the cereal soggy.
What Each Ingredient Is Doing in the Bag
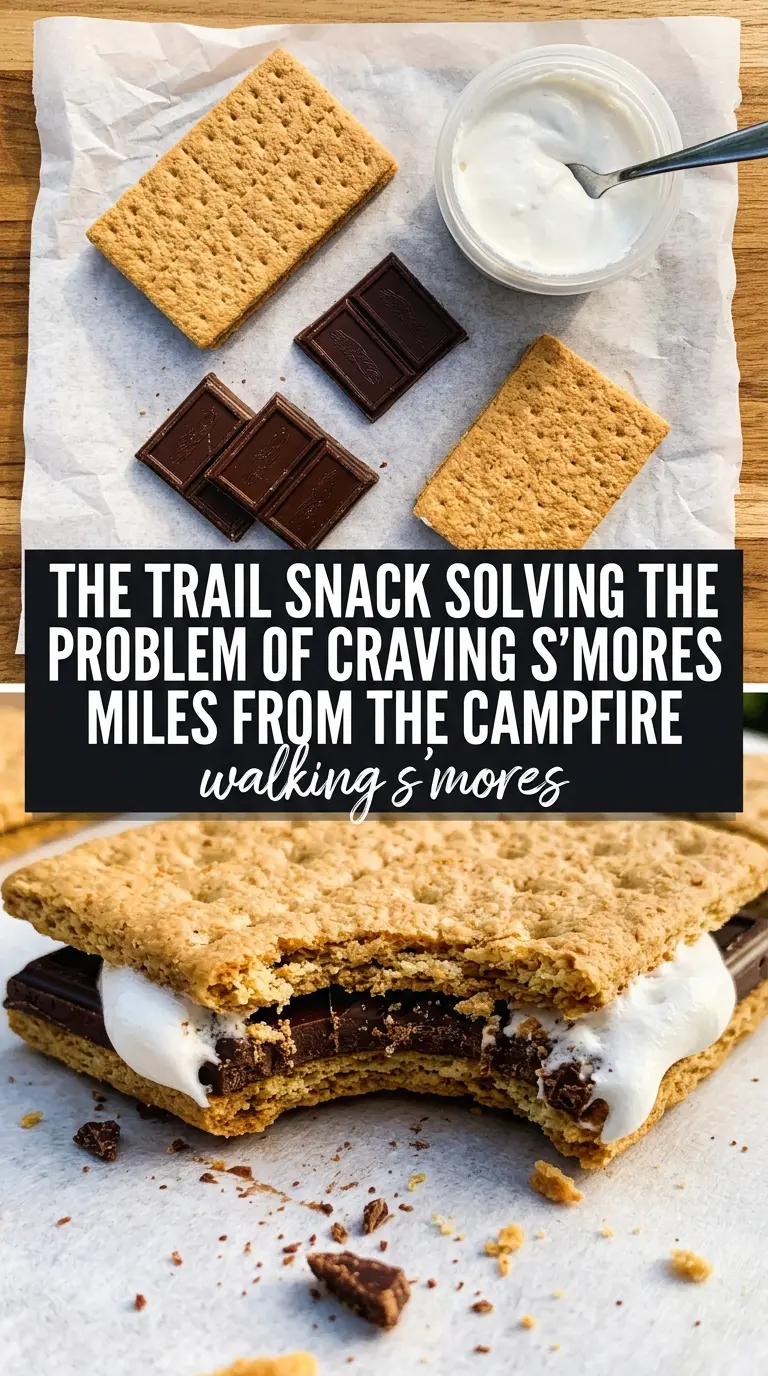
- Snack-size Golden Grahams bags — These do double duty as the container and the base of the dessert. The individual bags are important because they keep portions tidy and make it easy to warm each serving without scooping or plating. Any similar graham-style cereal works, but the texture should be sturdy enough to hold up after shaking.
- Mini marshmallows — Minis melt faster and more evenly than full-size marshmallows, which matters in a short 3- to 5-minute warm-up. If all you have are larger marshmallows, cut them into smaller pieces so they soften before the cereal gets too warm. Big marshmallow chunks can stay stubborn in the center while the outside melts first.
- Chocolate chips — Chips give you clean pockets of melted chocolate instead of a full chocolate sauce, which is part of what makes the snack fun to eat. Semi-sweet is the safest choice because it balances the sweetness of the marshmallows and cereal. Milk chocolate works too if you want it sweeter, but it softens faster and can taste a little sweeter after warming.
How to Warm the Bags Without Turning Them Into a Melted Mess
Opening the Bag the Right Way
Cut or tear each cereal bag open at the top and keep the cereal inside. The bag is your serving dish, so don’t dump the cereal into a bowl first. Add the marshmallows and chocolate chips right on top, then loosely fold or roll the top closed so heat can circulate without spilling the contents.
Warming Near the Fire, Not In It
Set the bags near the campfire heat for 3 to 5 minutes, rotating them occasionally so the warmth hits from different sides. If you hold them directly over flame, the outer bag can soften before the filling melts. You’re looking for the chocolate to go shiny and soft and the marshmallows to look puffy, not toasted or browned.
Mixing and Eating While It’s Warm
Once the filling has softened, gently shake the bag to coat the cereal with the melted chocolate and marshmallow. Don’t shake hard or you’ll crush the cereal into crumbs. Eat it straight from the bag with a spoon, or pour it into a bowl if you want a less messy finish for kids.
Ways to Adjust Walking S’mores for Different Camps and Crowds
Dairy-Free Version
Use dairy-free chocolate chips and a marshmallow brand that doesn’t contain gelatin or dairy ingredients. The texture stays close to the original, but some dairy-free chips soften a little slower, so give the bags an extra minute near the heat.
Extra Chocolate for Serious Sweet Tooths
Add a small handful of chopped candy bar pieces or mini peanut butter cups along with the chips. This makes the filling richer and more molten, but it also makes the bag heavier and a little harder to mix, so stop at a modest amount.
Nutty Crunch Variation
Stir in a spoonful of chopped peanuts or almonds for a salty edge and better crunch. This works best if you want a more grown-up version, but keep the add-in small so the bag still shakes evenly and the marshmallows can melt around it.
Make It Gluten-Free
Use a certified gluten-free graham-style cereal or another crisp gluten-free cereal with a similar shape. The key is choosing something sturdy enough to keep its texture after warming, since fragile cereals can go soft fast once the marshmallows melt.
Storage and Reheating
- Refrigerator: Best eaten right away. If you do store leftovers, they’ll keep for 1 day, but the cereal softens and loses the fresh campfire texture.
- Freezer: Not a good freezer dessert. The cereal turns stale and the marshmallows get sticky and unpleasant after thawing.
- Reheating: Warm leftovers briefly near gentle heat or at very low power if you’ve transferred them to a microwave-safe bowl. The mistake to avoid is blasting them with high heat, which makes the chocolate seize and the cereal go stale fast.