Walnut pear apple crisp lands with that perfect contrast everyone wants from a fruit dessert: soft, bubbling fruit underneath and a thick, golden crumble that stays crisp in spots instead of turning sandy. The pears bring a mellow sweetness and a silky texture, while the apples keep the filling from going too soft. It tastes homey and a little polished at the same time, which is exactly why it keeps showing up at my table.
The trick is balancing the fruit so the filling turns glossy instead of watery. Pears release more juice than apples, so the cornstarch and the short rest after baking matter just as much as the bake itself. The walnut crumble also earns its place here; the nuts add flavor, but they also keep the topping from tasting flat and one-note.
Below, I walk through the part that matters most: how to keep the topping chunky, how to tell when the filling has thickened, and which swaps still give you a crisp that holds together after baking.
The fruit turned tender without getting mushy, and the topping stayed crunchy even after sitting on the counter for a bit. I loved the walnuts in the crumble — they made the whole dessert taste richer.
Save this walnut pear apple crisp for when you want bubbling fruit, a crunchy walnut-oat topping, and a dessert that slices and spoons beautifully.
The Part That Keeps the Filling from Turning Soupy
The biggest failure in fruit crisp is rushing the filling and expecting the topping to fix it later. It won't. Pears and apples both give off juice as they bake, and if you don't use enough thickener or you cut the fruit too thin, the bottom turns loose before the topping has time to brown.
Cornstarch is the quiet workhorse here. It thickens the juices as the crisp bakes, then firms up as it rests. That rest matters more than most people think; if you scoop it the second it comes out of the oven, the filling will look runny even when it's on the right track.
- Cut the fruit evenly so the slices finish at the same time. Thick chunks leave you with hard apples and soft pears in the same pan.
- Toss the fruit with the sugar before adding the cornstarch so the dry ingredients cling more evenly.
- Look for bubbling at the edges and in the center before pulling it from the oven. That's the signal that the starch has activated.
- Let it stand for 10 minutes so the juices settle into a spoonable filling instead of a puddle.
What the Walnuts Are Doing in the Crumble
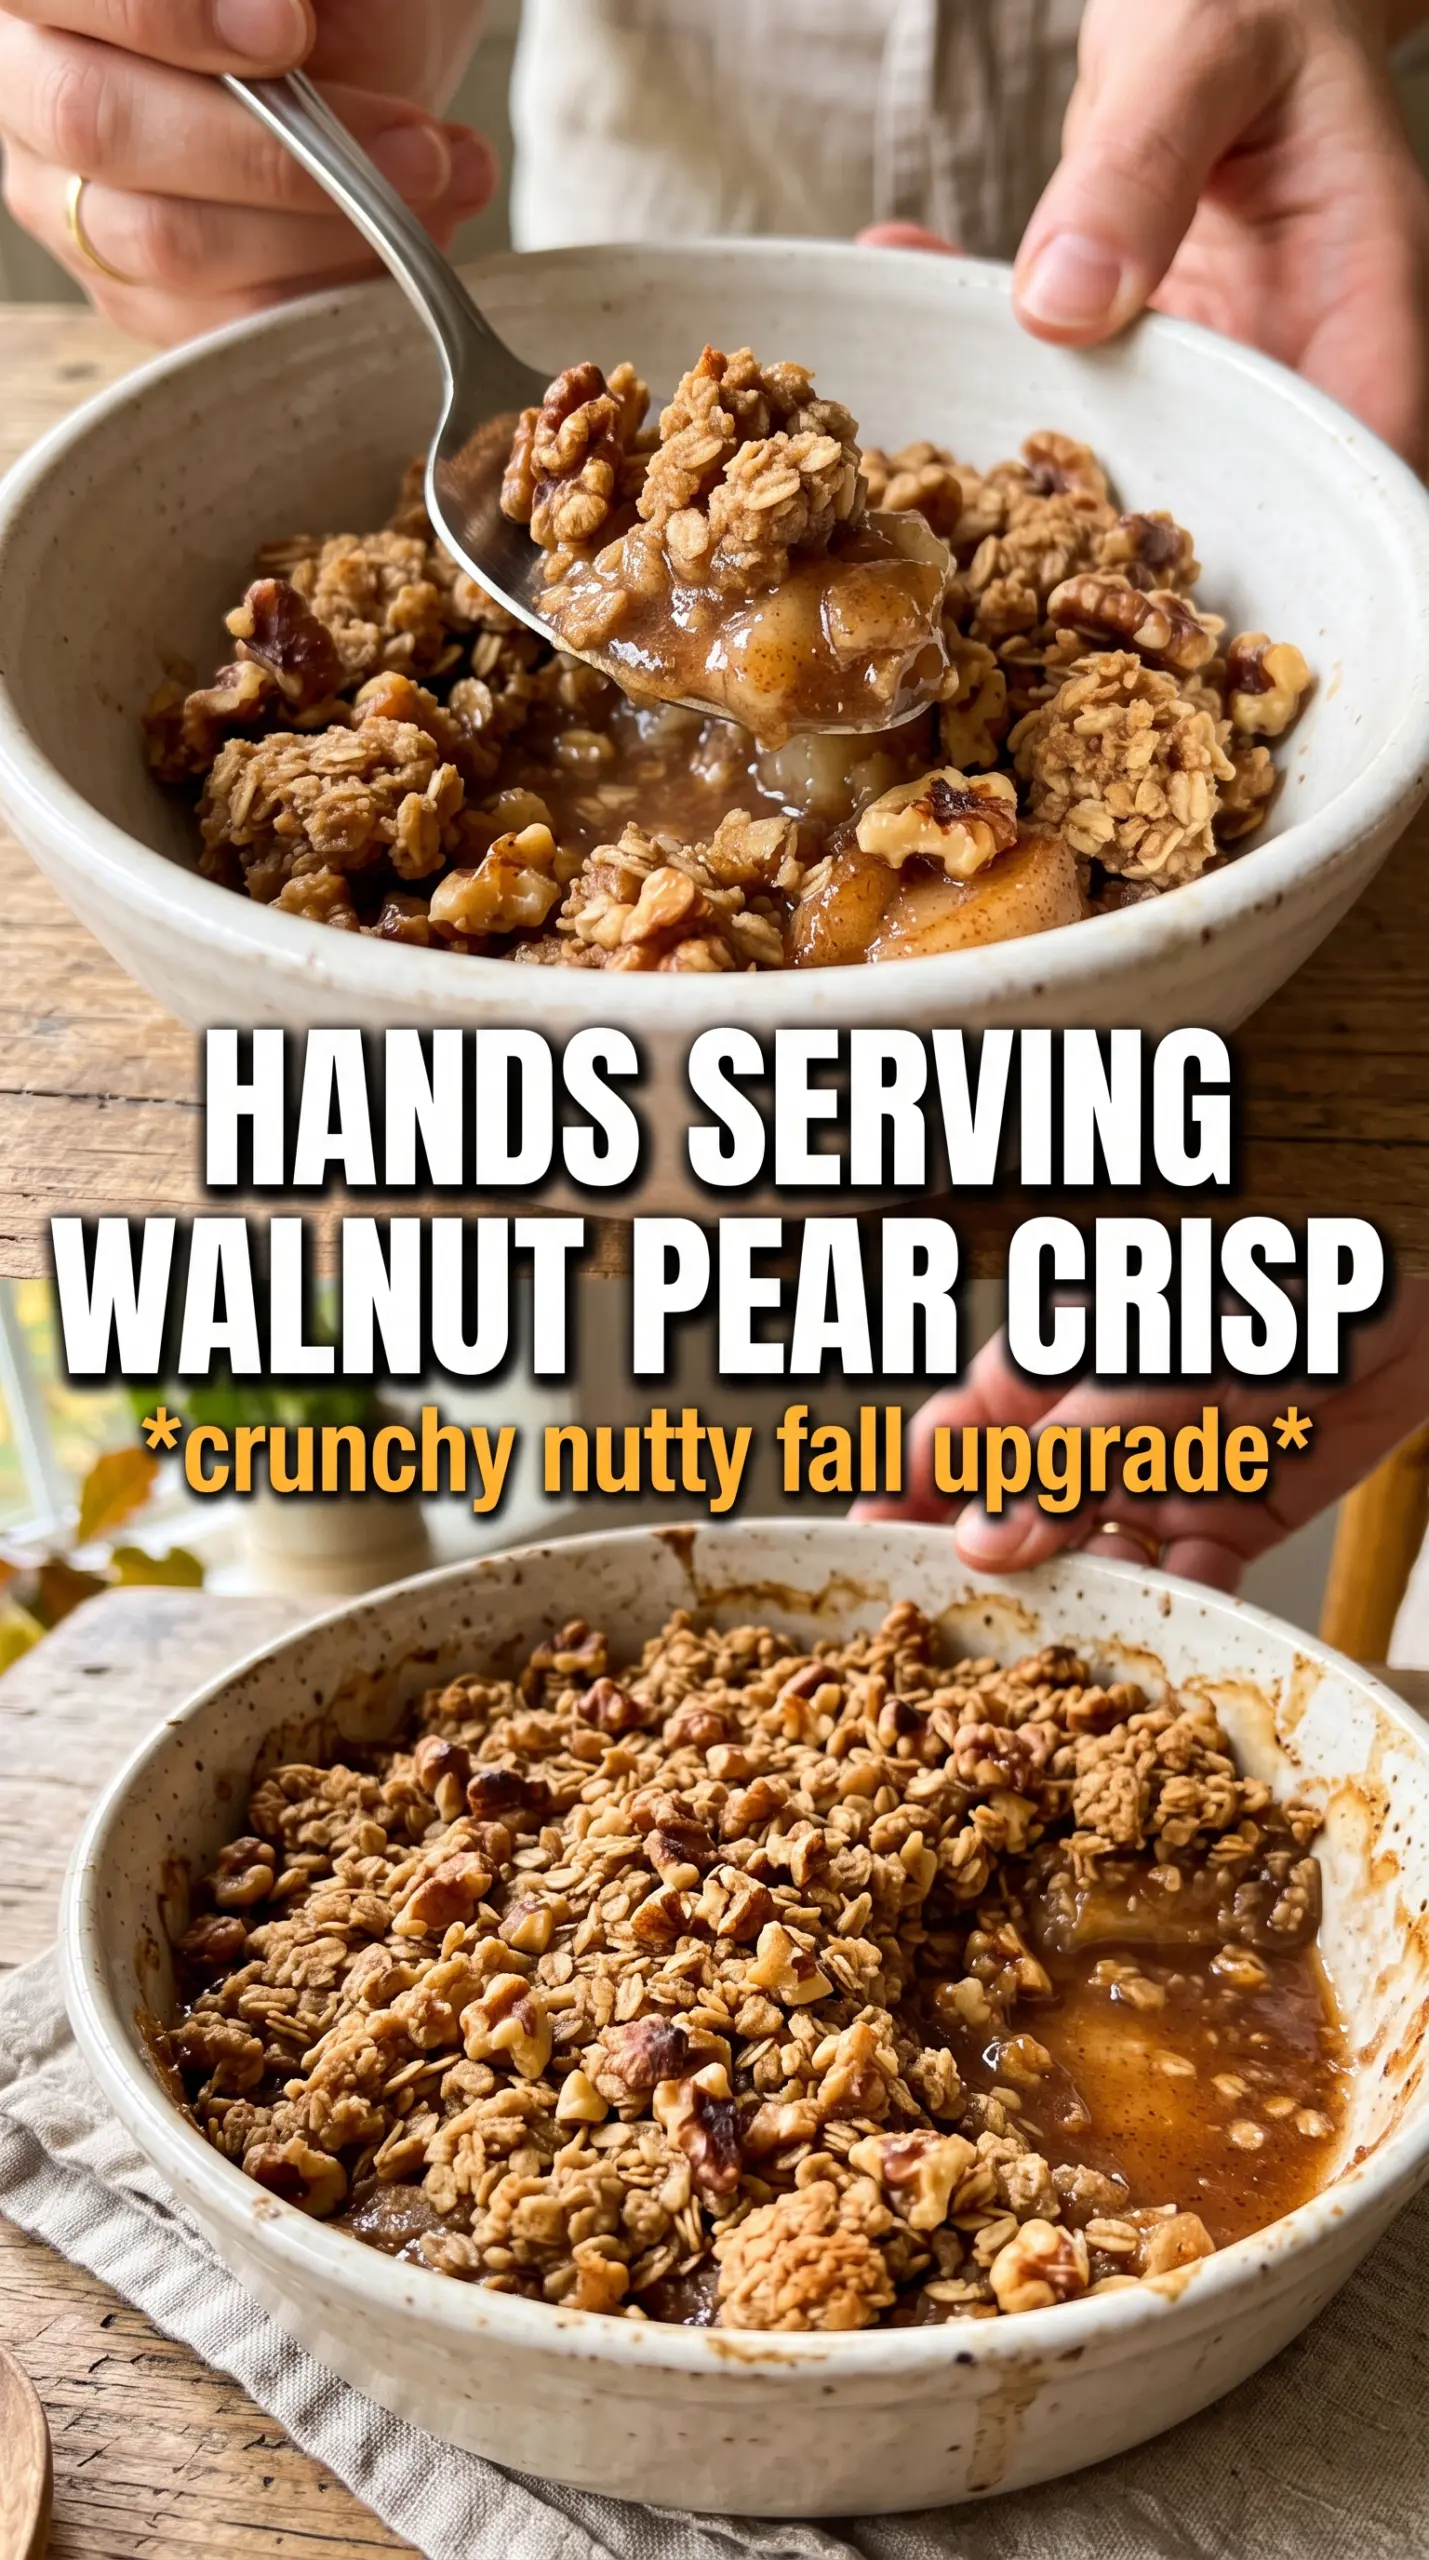
Rolled oats give the topping its chew and help it bake into uneven craggy pieces. Quick oats can work in a pinch, but they make the topping denser and less textured.
Walnuts are what make this crisp taste deeper and less sugary. They toast as the crisp bakes, which brings out their bitterness in the best way and keeps the topping from tasting like plain streusel.
Cold butter is non-negotiable. Warm butter blends too smoothly, and you lose those chunky pieces that brown at different rates. Cut it in until you have clumps the size of peas and small marbles; that's what gives you a crisp top with actual crunch.
- Use firm apples like Honeycrisp, Granny Smith, or Braeburn if you want the fruit to hold some shape.
- Use ripe but not mushy pears so they turn tender without disappearing into the filling.
- Swap walnuts for pecans if that's what you have. The texture stays the same, but the flavor gets sweeter and a little softer.
- Use gluten-free flour and certified gluten-free oats for a gluten-free version that still bakes up with good crumble.
Building the Crisp So the Topping Stays Crunchy
Coating the Fruit First
Mix the apples and pears with the sugars, cinnamon, ginger, cornstarch, and lemon juice before they go into the dish. The fruit should look lightly coated, not wet and soupy. If you see a lot of liquid pooling in the bowl before baking, the fruit was extra juicy, and you'll want to bake until the center is actively bubbling.
Making the Walnut Crumble
Combine the dry topping ingredients first, then cut in the cold butter until the mixture forms rough clumps. Stop before it turns into a fine sandy meal. Those irregular pieces are what create the crisp, browned texture on top instead of a flat, biscuit-like layer.
Baking Until the Center Bubbles
Spread the crumble all the way to the edges and bake at 375°F until the top is deep golden and the filling is visibly bubbling through the crust. Pale topping usually means underbaked butter and flour, which tastes pasty once it cools. If the walnuts start to darken too quickly, tent the dish loosely with foil for the last few minutes.
Letting It Set Before Serving
Give the crisp at least 10 minutes on the counter before serving. That short rest lets the juices thicken enough to spoon cleanly. If you cut in immediately, the filling runs and the topping slides apart.
Make It Dairy-Free
Use a solid plant-based butter block instead of regular butter. The topping still clumps well and bakes crisp, but the flavor will be a little less rich and a touch more neutral. Choose one that behaves like butter in baking, not a soft spread from a tub.
Swap the Walnuts for Pecans
Pecans make the crumble sweeter and softer in flavor. They're a little less assertive than walnuts, so the crisp leans more dessert-like and less earthy. Chop them roughly so you still get texture in every bite.
Make It Gluten-Free
Use a 1:1 gluten-free baking flour and certified gluten-free oats. The topping will still brown and hold together, though it may be a little more delicate when you scoop it. Letting the crisp rest before serving matters even more here.
Add More Spice Without Losing the Fruit
A pinch of nutmeg or cardamom works well if you want a warmer finish, but keep it restrained. Too much spice can bury the apples and pears, which already carry enough sweetness and aroma on their own.
Storage and Reheating
- Refrigerator: Store covered for up to 4 days. The topping softens a bit in the fridge, but the flavor stays good.
- Freezer: Freeze baked crisp in a tightly wrapped dish for up to 2 months, or freeze unbaked and bake from frozen with extra time. The topping won't stay as crisp as fresh, but it still reheats well.
- Reheating: Warm in a 325°F oven until heated through. The oven brings the topping back to life; the microwave makes it soft and steamy, which is the fastest way to lose the crunch.
Questions I Get Asked About This Recipe
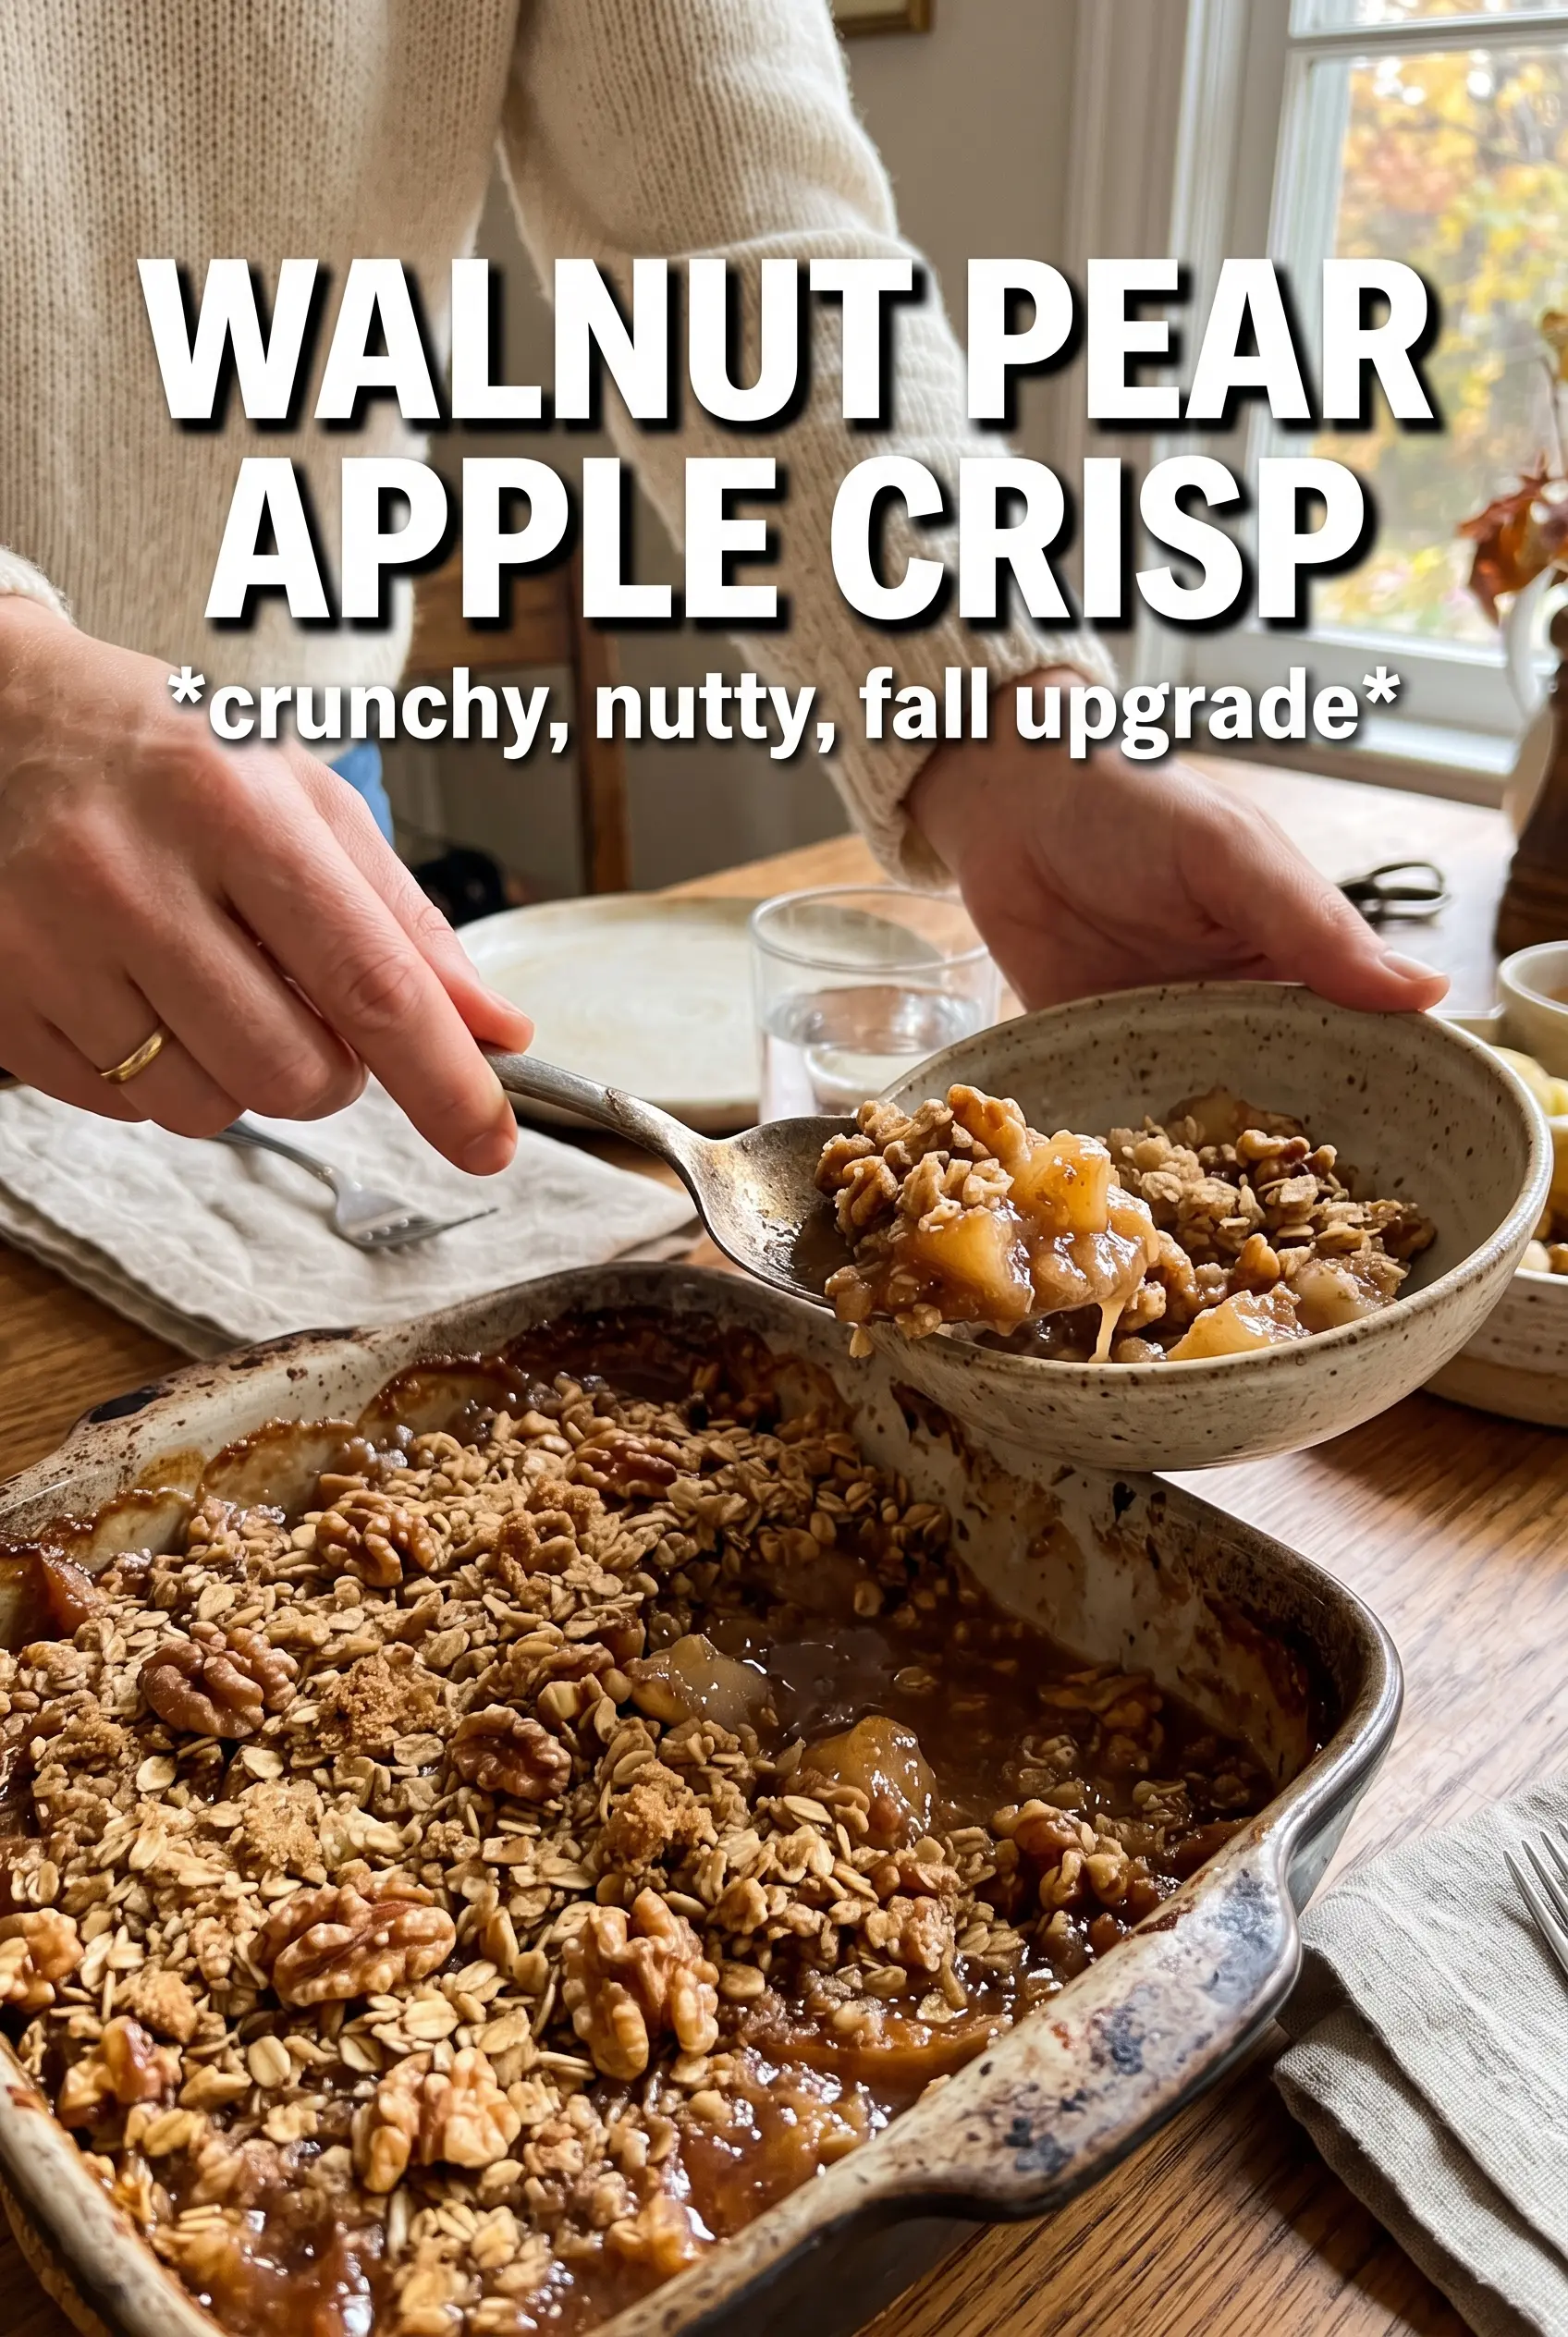
Walnut Pear Apple Crisp
Ingredients
Equipment
Method
- Preheat the oven to 375F, and grease a 9x13 baking dish.
- Toss the apple and pear slices with granulated sugar, brown sugar, cinnamon, ginger, cornstarch, and lemon juice, then spread the fruit in the dish.
- Combine rolled oats, all-purpose flour, packed brown sugar, cinnamon, salt, and chopped walnuts, then cut in the cold cubed butter until chunky clumps form.
- Scatter the walnut crumble over the fruit, then bake for 40-45 minutes until deeply golden and fruit is bubbling.
- Rest the crisp for 10 minutes before serving so the filling sets and the topping stays crisp.